How to add google analytics and ecommerce in shopify

Shopify is a complete e-commerce solution that allows you to set up an online store to sell your goods. It lets you organize your products, customize your storefront, accept credit card payments, track and respond to orders — all with a few clicks of the mouse.

Shopify Google Analytics Setup

Steps to setup google analytics and e-commerce tracking

Step1 : Login to Google Analytics account.

Step2 : Click on admin -> Tracking info -> Tracking code.

Step3 : Copy your  Google Analytics ID (UA-XXXXX-XX) from tracking info section in google analytics admin section

Step4 : Go to shopify admin section, than go to settings->general  scroll down and seach for google analytics

Step 5 : You will get a box, place the code in that box and click on save button

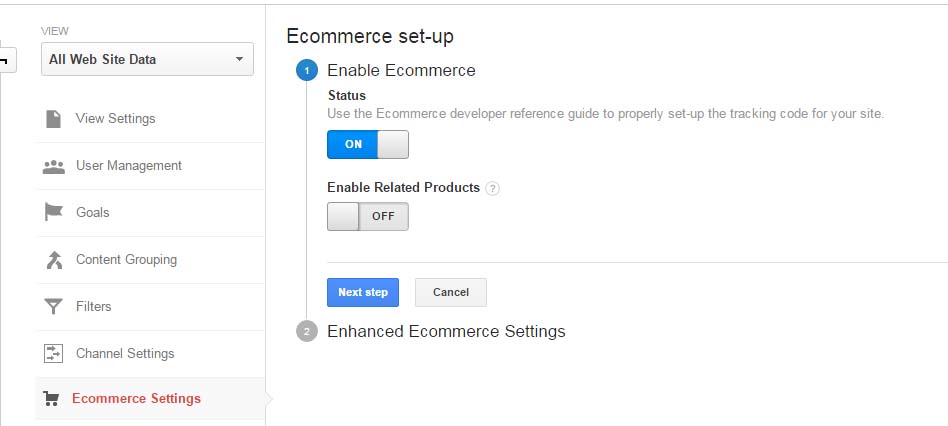
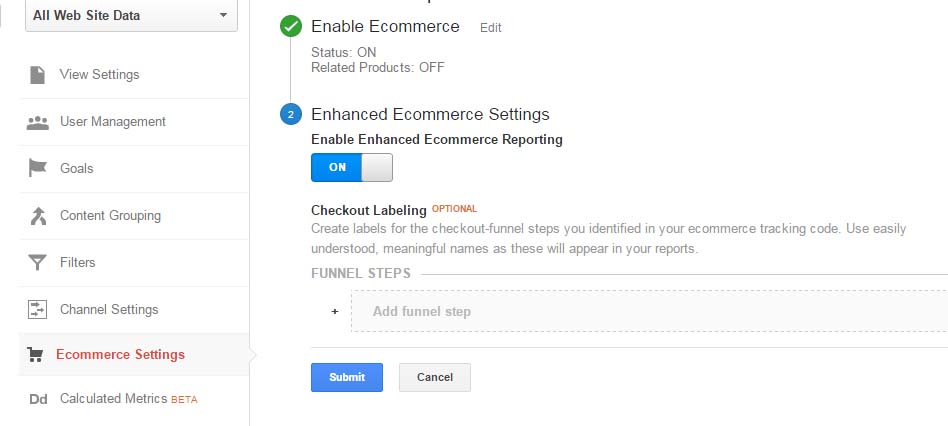
Step 6: In Google Analytics, Go to Admin -> Ecommerce setting -> enable ecommerce

E-commerce Setting

Then click on next step and Save it.

Step6 : Shopify will now automatically add the proper Google Analytics tracking codes to all of your pages. You should see e-commerce tracking appear the next time Google Analytics updates.

(Optional) If you looking to add Enhance E-commerce tracking on your website, then follow below steps:

Step7: Please check the check box of Enhance Ecommerce tracking checkbox, Just below the Google analytics box.

Step8: In Google Analytics, Go to Admin -> Ecommerce setting -> enable ecommerce -> next Step -> enable enhance ecommerce.

Enhance E-commerce Setting

Note: Funnel is optional, As per your requirement you can create funnels

1 thought on “How to add google analytics and ecommerce in shopify

  1. Thanks for sharing the valuable information, very helpful indeed. Keep on writing the similar articles. waiting for your next articles.Thanks for the posts.

Leave a Reply

Your email address will not be published. Required fields are marked *

This site uses Akismet to reduce spam. Learn how your comment data is processed.